Facebook

20 Jan 2011

Making Fences

Making Fences

Another job I have been meaning to do for some time is making fences that I can use for my wargaming table. In this tutorial I will walk you through the process of making fences for 10mm wargaming.

1. The first step is to cut your bases to the desired size either using MDF or hardboard in my case I used hardboard and cut it to 1 inch wide by 6 inch long once you have cut your bases to the desired size you then want to proceed to rasp the edges to give it a smoother appearance.

2. The next step is to texture your base. I have done tutorial on basing.

3. The next step is to cut your car repair mesh to the desired height and length.

4. The next step is to paint the mesh in Humbrol No. 67 Tank Grey and dry brush with Humbrol No. 110 Natural Wood and allowed to dry.

6. The last and final step is to glue the car mesh onto your pre-cut and textured bases using a glue gun. 

Tools

Pencil
Tape measure
Wood saw
Rasp
Paintbrushes
PVA
Glue gun

Materials

Hardboard
Polycell Textured Ceilings Course Effect
Ronseal Diamond Hard Varnish, matt clear
Noch Summer Meadow Grass
Car repair mesh 

Humbrol Colours

Humbrol No. 110 Natural Wood
Humbrol No. 103 Cream
Humbrol No. 67 Tank Grey
Humbrol No. 110 Natural Wood

Making Barb Wire Fences

Making Barb Wire Fences

Making barb wire fences is an easy guide to follow. 1. The first step is to cut your bases to the desired size either using MDF or hardboard in my case I used hardboard and cut it to 1 inch wide by 6 inch long once you have cut your bases to the desired size you then want to proceed to rasp the edges to give it a smoother appearance.

2. The next phase is the glue the tiles spaces on to the hardboard using a glue gun at either end's of the base.

3. The next step is to texture your base. I have done tutorial on basing.

4. The next step is to paint your base and the tiles spaces I used Humbrol No. 67 Tank Grey Tank Grey, to paint the tile spaces and Humbrol No. 64 Light Grey to dry brush them.

5. The next step is to get your light duty galvanised wire and pull off a long length and then fold it in half and push the two ends into a drill, and the other end fasten to a pencil, and then preferably get somebody to help by holding the pencil, pull the galvanised wire until its reasonably tight then turn the drill on its personal preference on how tight you do this bit.

6. The next step is now to wrap the wire you have just twisted around a pencil or similar object to create coils you can cut them at any desired length. 

7. I actually used the wire itself to twist around the tile spaces to get a securely fastened Barb wire diorama.

Making Barb Wire Fences picture 1

Making Barb Wire Fences picture 2

Tools

Pencil
Tape measure
Wood saw
Rasp
Glue gun
Cutters
Drill
Paintbrushes

Materials

Hardboard
Polycell Textured Ceilings Course Effect
Ronseal Diamond Hard Varnish, matt clear
Light Duty Galvanised Wire general-purpose garden wire for training and tying 
Tile spaces
Noch Summer Meadow Grass
PVA

Humbrol Colours

Humbrol No. 110 Natural Wood
Humbrol No. 103 Cream
Humbrol No. 67 Tank Grey
Humbrol No. 64 Light Grey

Making Walls

Making Walls

Making walls is an easy guide to follow. Another piece of terrain scenery I desperately needed for my war games table was Walls however to buy commercially manufactured Walls tends to be rather expensive and I was not prepared to shell out that sort of money. After giving it some thought I came up with the idea of using N gauge railway ballast and to be honest I am rather impressed with the results. I hope you enjoy this tutorial.

Walls of all types have often played important roles on many battlefields. Sometimes they can offer shelter to troops that can get to them first, but they can also affect the movement troops. 

1. The first step is to cut your bases to the desired size either using MDF or hardboard in my case I used hardboard and cut it to 1 inch wide by 6 inch long once you have cut your bases to the desired size you then want to proceed to rasp the edges to give it a smoother appearance.

2. The next step is to paint your cut pieces of hardboard with Polycell Textured Ceilings Course Effect.

3. Once this is dry paint all the base with Humbrol No. 110 Natural Wood, allow to dry and then lightly dry brush with Humbrol No. 103 Cream.

4. The next step is to varnish your bases with Ronseal Diamond Hard Varnish, matt clear.

Making Walls Picture 1

5. The next stage is to get some N gauge ballast which can be bought from any model railway shop. You then need to mix this up with PVA glue.

Making Walls Picture 2

Making Walls Picture 3

Making Walls Picture 4

Making Walls Picture 5

6. The next stage should come with a warning as its extremely messy, however it's also very easy all you have to do is put the mixed up ballast and PVA glue in a rough of line then using your fingers shape into a wall.

Making Walls Picture 6

Making Walls Picture 7

7. The last stage is to apply PVA glue to the edges of the base and apply flocking I use Noch Summer Meadow Grass.

Making Walls Picture 8

Making Walls Picture 9

Making Walls Picture 10

Tools

Pencil
Tape measure
Wood saw
Rasp
Paintbrushes
PVA

Materials

Hardboard
Polycell Textured Ceilings Course Effect
Ronseal Diamond Hard Varnish, matt clear
Noch Summer Meadow Grass
N Gauge Model Railway Ballast

Humbrol Colours

Humbrol No. 110 Natural Wood
Humbrol No. 103 Cream

14 Jan 2011

10mm World War II Project

10mm World War II Project

My 10mm World War II Project will be based around the invasion of the Soviet Union from operation Barbarossa till the fall of Berlin as I complete the German and Russian forces I was slowly expand into other areas of World War II (WWII). 


The rules I will be using are Rapid Fire.

The core of the army will be built using Pendraken Miniatures other manufacturers which I intend using are Magister Militum. The buildings which I intend using are from various manufacturers Pendraken, JR Miniatures buildings sold by Magister Militum, Fieldworks and TimeCast.

16 June 2020

Old Stone Crushing Plant by Faller which I bought from eBay.

Old Stone Crushing Plant

13 June 2020

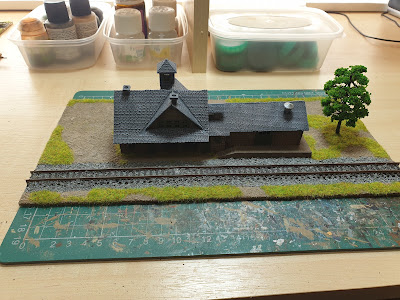
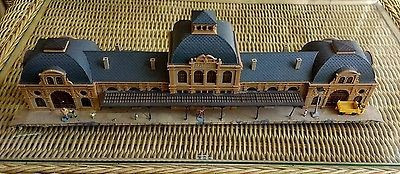
Train Station by Pola which I will use for both my World War II project and ACW project.

Train Station

9 June 2020

Woodyard/Sawmill by Faller which I use for both my World War II project and ACW project.

Woodyard

14 May 2020

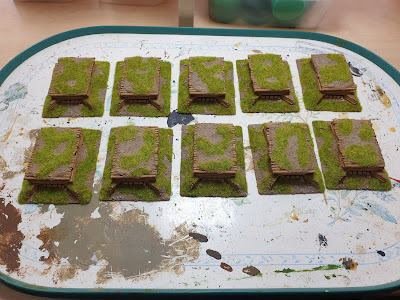
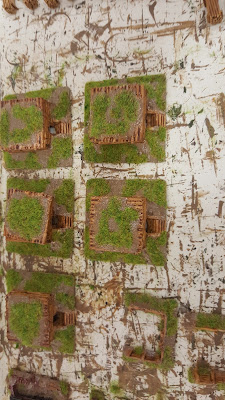
I've finally got round to painting my Earthworks & Bunkers which were made by my very good friend Ade.

Earthworks & Bunkers picture 1

Earthworks & Bunkers picture 2


30 April 2020


3 Faller Boiler Houses

9 April 2020

The Brick Works which was situated near the Barrikady factory, units near 305th Infantry Division's 577th Infantry Regiment.

The Brick Works


2 Faller Modified Boiler Houses picture 1

2 Faller Modified Boiler Houses picture 2

13 October 2019

I've painted a few World War II Cossacks which i intend expanding.


I've painted a few World War II Refugees.

World War II Refugees

28 November 2018

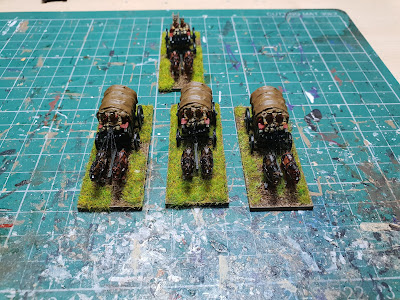
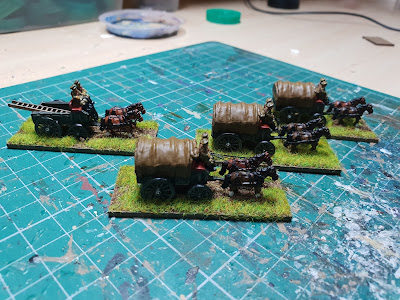
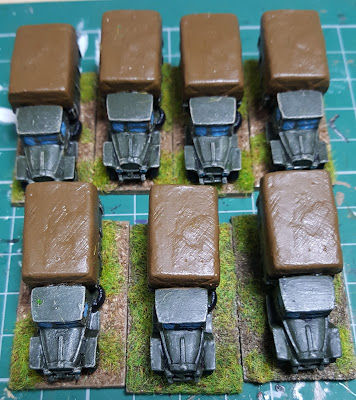
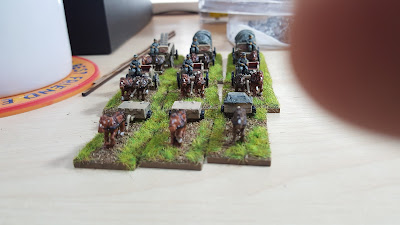
Supply wagons for my Soviet rifle brigade 1941-1945.

Supply wagons for my Soviet rifle brigade 1941-1945 picture 1

Supply wagons for my Soviet rifle brigade 1941-1945 picture 2

Some later war Stugs.

Some later war Stugs picture 1

Some later war Stugs picture 2

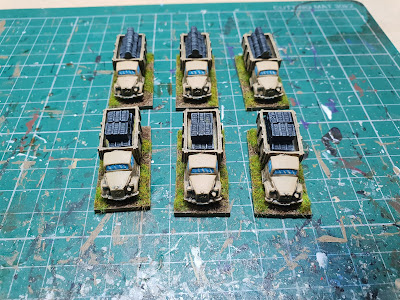
 Supply trucks.

Supply trucks picture 1

Supply trucks picture 2

 Panther tanks with zimmerit and without.

Panther tanks with zimmerit and without picture 1

Panther tanks with zimmerit and without picture 2

Panther tanks with zimmerit and without picture 3

Panther tanks with zimmerit and without picture 4

Panther tanks with zimmerit and without picture 5

Panther tanks with zimmerit and without picture 6

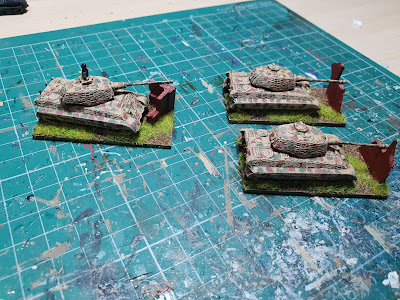
 Some Tiger II's unfortunately the gun barrels were weak so I had to put the walls in front.

Some Tiger II's picture 1

Some Tiger II's picture 2

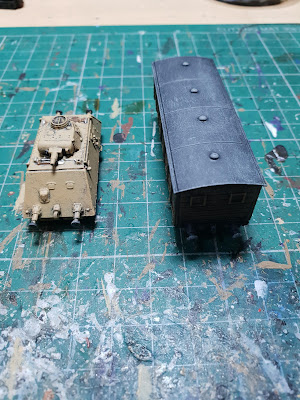
 Artilleriewagen and Box Wagon from Dragon.

Artilleriewagen and Box Wagon picture 1

Artilleriewagen and Box Wagon picture 2

27 September 2019

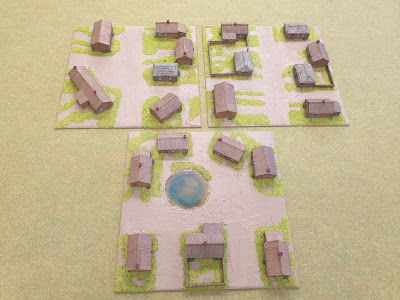
A guide for making making Soviet villages.

Making Soviet Villages

8 November 2018

I thought I'd show how to go about making the cheap flight stands.

Making Flight Stand

13 June 2018

Some anti-air defence for my soviets


Some odds and sods for my Soviet rifle brigade


21 May 2018

Early war regimental command

Early war regimental command

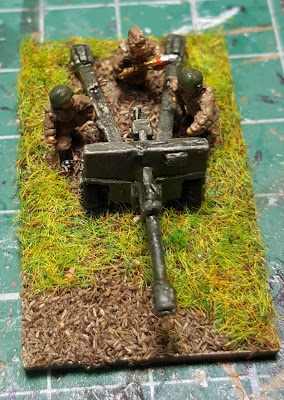
Early war Sturm-Infanteriegeschütz 33B, 4 x Infantry with anti-tank rifles and 2 x  50mm PaK 38 anti-tank guns

Early war Sturm-Infanteriegeschütz 33B, 4 x Infantry with anti-tank rifles and 2 x  50mm PaK 38 anti-tank guns

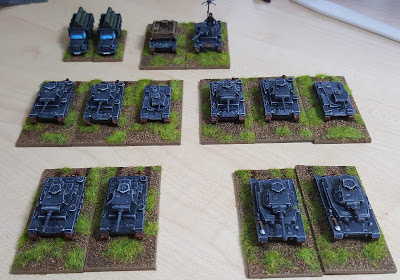
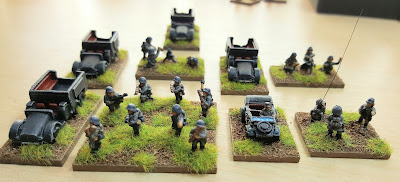
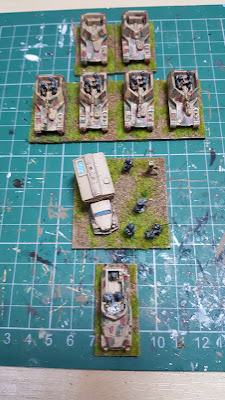
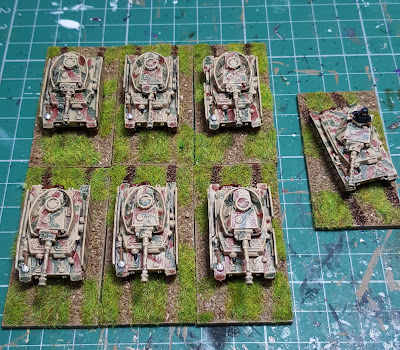
Early war Panzer Division with Panzer IIs, Panzer IIIs, Panzer IVs and a supply and repair company

Early war Panzer Division with Panzer IIs, Panzer IIIs, Panzer IVs and a supply and repair company picture 1

Early war Panzer Division with Panzer IIs, Panzer IIIs, Panzer IVs and a supply and repair company picture 2

Early war Panzer Division with Panzer IIs, Panzer IIIs, Panzer IVs and a supply and repair company picture 3

1943 onwards, Sd.Kfz. 251/22 Fitted with a 75mm PaK 40 anti-tank gun


The Brick Works, I made this up using a Heljan N gauge kit and a kiln I managed to buy from eBay.

The Brick Works, I made this up using a Heljan N gauge kit and a kiln I managed to buy from eBay.

8 March 2018

1943 onwards,  3 x Jagdtigers

1943 onwards,  3 x Jagdtigers

 1943 onwards,  3 x Jagdpanthers

1943 onwards,  3 x Jagdpanthers

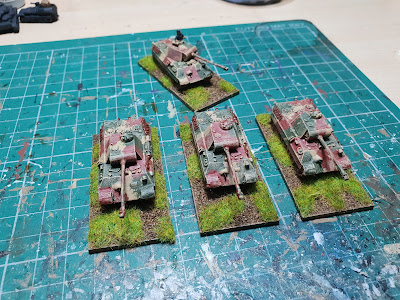
1943 onwards,  3 x Jagdpanzer IV

1943 onwards,  3 x Jagdpanzer IV

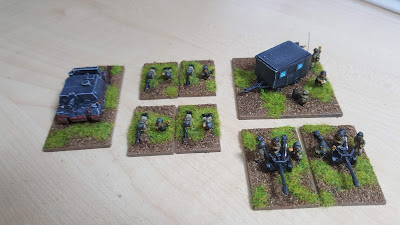
Early War, Luftwaffe detachment with 88mm and 20mm.

Luftwaffe detachment with 88mm and 20mm picture 1

Luftwaffe detachment with 88mm and 20mm picture 2

Luftwaffe detachment with 88mm and 20mm picture 3

18 April 2018

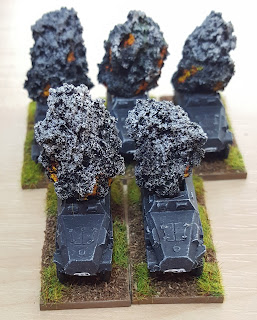
Late war Sd.Kfz. 251 smoke markers.

Late war Sd.Kfz. 251 smoke markers


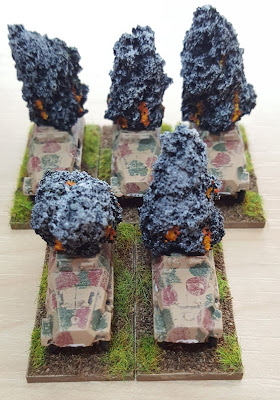
Early war Sd.Kfz. 251 smoke markers.

Early war Sd.Kfz. 251 smoke markers


Two early War German Infantry battalions

Two early War German Infantry battalions picture 1

Two early War German Infantry battalions picture 2

Two early War German Infantry battalions picture 3


19 March 2018

Two supply trucks and one repair vehicle for German heavy tank battalion

Two supply trucks and one repair vehicle

German assault Gun company with Sd Kfz  253 (Observer team)

German assault Gun company with Sd Kfz  253 (Observer team)

Russian tank crews unfortunately I had to use the same German figure

Russian tank crews

German tank crews

German tank crews

Early war Sd Kfz 251 armoured personnel carriers.

Early war Sd Kfz  251 armoured personnel carriers

Early War German Krupp Protze trucks and a Horch kfz.15 staff car.

Early War German Krupp Protze trucks and a Horch kfz.15 staff car

5 March 2018

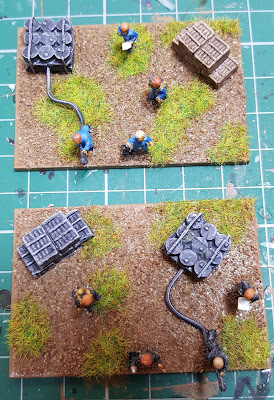
I fancied doing a diorama of some Russian and German mechanics and supply crew

Russian and German mechanics and supply crew

Russian and German mechanics and supply crew picture 2

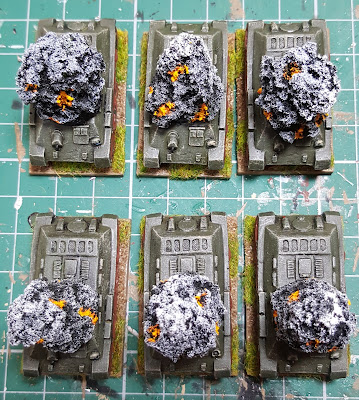
Burnt out Russian t34s smoke markers.

Burnt out Russian t34s

Burnt out Russian t34s picture 2

1943 onwards,  German heavy tank battalion equipped with tigers

German heavy tank battalion equipped with tigers

German heavy tank battalion equipped with tigers picture 2

Soviet tank Brigade t34 minesweepers (for Mid 1942 -Mid 1943)

Soviet tank Brigade t34 minesweepers

Soviet tank Brigade t34 minesweepers picture 2

25 February 2018

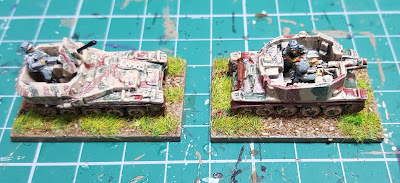
1943 onwards, 38t flakpanzer to provide support for my German tank battalion, Also a SIG-33 Grille to provide heavy support for my panzergrenadiers 

38t flakpanzer and SIG-33 Grille

38t flakpanzer and SIG-33 Grille picture 2

1943 onwards, German Panzer Division artillery

German Panzer Division artillery

German Panzer Division artillery picture 2

Russian 76.2 anti tank gun for Soviet tank Brigade (for Mid 1942 -Mid 1943)

Russian 76.2 anti tank gun for Soviet tank Brigade

Russian 76.2 anti tank gun for Soviet tank Brigade picture 2

Supply trucks for Soviet tank Brigade (for Mid 1942 -Mid 1943)

Supply trucks for Soviet tank Brigade

Supply trucks for Soviet tank Brigade picture 2

Soviet tank Brigade transport (for Mid 1942 -Mid 1943)

Soviet tank Brigade transport

Soviet tank Brigade transport picture 2

1943 onwards, part of a German assault gun battalion

German assault gun battalion

German assault gun battalion picture 2

1943 onwards German tank battalion based for Rapid Fire

German tank battalion

German tank battalion picture 2

6 February 2018

Some horse transport and supply wagons for my Infantry Regiment

transport and supply wagons


Some Opel Blitzs for my motorized Infantry battalion


8 December 2017

1943 onwards, German Infantry battalion

1943 onwards German Infantry battalion

1943 onwards German Infantry battalion picture 2

3 December 2017

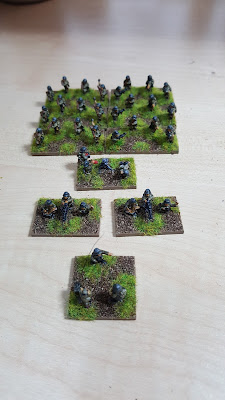
A German Infantry Battalion all finished and based for Rapid Fire Rules the miniatures were mainly Pendraken Miniatures and one or two of Magister Militum.

A German Infantry Battalion all finished picture 1

A German Infantry Battalion all finished picture 2

A German Infantry Battalion all finished picture 3

A German Infantry Battalion all finished picture 4

1 November 2017

A load of bomb craters from Pendraken Miniatures.

A load of bomb craters from Pendraken Miniature's

Some partially painted Pendraken Miniatures Barricades, I particularly like these and will be getting some more.

Some partially painted Pendraken Miniature's Barricades

Some more of Ades work, slate Barricades and some Sandbanks, the hayricks are Pendraken.

Some more of Ades work, slate Barricades and some Sandbanks, the hayricks are Pendraken


30 October 2017

A revamp of some old buildings to the Stalingrad theme of white render.

A revamp of some old buildings to the Stalingrad theme of white render

26 October 2017

Some bits and bobs sorted out, Sandbag emplacements from Steve Clay (Battlescale Wargame Buildings) which I'm extremely impressed with definitely be ordering some more.

A new member (Ade) who joined the Grimsby Wargaming Society has become an extremely good friend of mine, and turns out to be an excellent sculptor so I've been very lucky in having a few pieces sculpted especially for me. 

And yes for all those interested he will be opening his own website.

Steve's bunkers and bits and bobs

Ade's, machine gun bunker using a T34

Ade's, machine gun bunker using a T34


Ade's, Command bunkers.

Ade's, Command bunkers

Ade's, Gun emplacements.

Ade's, Gun emplacements picture 1

Ade's, Gun emplacements picture 2

13 September 2017

A bit more progress made on the German Infantry battalion.

A bit more progress made on the German Infantry battalion


12 September 2017

Finishing off some German infantry.


8 June 2017

Two Track Engine Shed Kit from eBay


17 May 2017

Vollmer Baden Baden Station from eBay

Vollmer Baden Baden Station from eBay


24 April 2017

A very good friend from the Grimsby Wargames Society gave me these ( Andy Hamilton) for my WWII stuff.

A very good friend from the Grimsby Wargames Society gave me these ( Andy Hamilton) for my WWII stuff


6 February 2017

WWII Samples see Vapnartak, York, Wargames Show

WWII Samples see Vapnartak, York, Wargames Show

13 October 2015

Timecasts buildings all painted up


A Fieldworks building all painted

30 March 2015

A couple of cheap del prado static n gauge models for my ACW and WWII wargaming projects.

A couple of cheap del prado static n gauge models for my ACW and WWII wargaming projects

February 2014

My World War II entries for the Pendraken Painting Competition 2014.

March to April 2013

I've been busy repainting the Russian army I got off eBay earlier in the year they are nearly finished now, I'll be adding a painting guide. I've also painted three Fieldworks buildings.

26 February 2013 

I finished rebasing the Russian and German infantry which I purchased from eBay earlier in the year.

February 2013

My entry for the Pendraken Painting Competition 2013 which consists of the Germans I painted earlier in the year shown as a battle group.

German Battle Group picture 1

German Battle Group picture 2

German Battle Group picture 3

German Battle Group picture 4

German Battle Group picture 5

20 January 2013

I bought three World War II 10mm Pendraken armies from eBay. A British Army, German Army and Russian Army.

British Army

British army consists of the following painted models.

Cromwell x 14 
Crusader aa x 4 
17 pdr tank destroyer x 4 
Priest x 8 
Sherman Firefly x 8 
Sherman 75mm x 22 Grant / Lee x 12 
Bedford Trucks x 10 
Bofors & Tractor x 6 
Daimler scout car x 7 
Cars x 6 
Jeeps x 2 
M3 Halftrack x 12 
M3 Stuart x 3 
M5 Stuart x 4 
Infantry Stands x 33 
5 packs unpainted / unbuilt 
2 x Sherman Calliope 
Sherman 75 + Calliope RL 
2 x 6Pdr A/T & Crew 

German army

German army consist of the following painted models

Jagd Tiger x 3 
Tiger x 4 
Panther x 17 
Panzer IVh x 20 
Stug x 17
Blitz truck x 8 
Wespe x 6 
Pz III x 2 
Puma x 4 
Sdkfz 250/10 x 8 
Sdkfz 250 x 5 
Sdkfz 251 x 12 
251/10 (37mm) x 4 
251/9 (short 75mm) x 6 
88mm AT gun + crew x 3 
Sdkfz 7 x 3 
Infantry stands x 23 
Unpainted / unbuilt packets 
FlakPanzer 38t 
SdKfz 234/3 At Gun / howitzer x 2 
Paratroopers on bases but unpainted x 100 figs 

Russian army

Russian army consists of the following painted models 

Katyusha x 10 
T34/75 x 5 
T34/76 x 20 
T34/85 x 10 
Ba64 x 12 
Kv1 x 5 
Su76 x 5 
Su122 x 5 
Su152 x 10 
IS2 / 1 x 4 
Kv2 x 5 
Su85 x 5 
Infantry Stands x 70 
Heavy Weapon Stands x 21 

September 2012
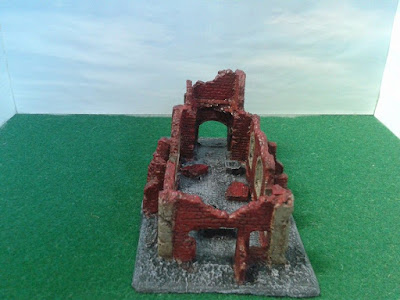
I decided to have a go at building some World War II factory ruins for my The Battle of Stalingrad Project you can find my complete construction guide here.

Stalingrad Ruined Factory One

Stalingrad Ruined Factory Two

Stalingrad Ruined Factory Three

Stalingrad Ruined Factory Four

1 September 2012
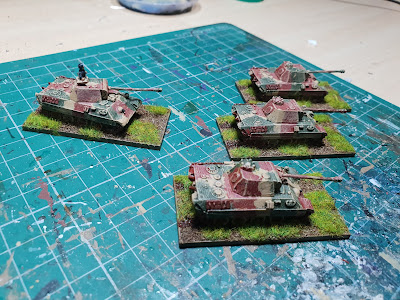
I decided i was going to start planning The Battle of Stalingrad both Russians and German orders of battle and also thinking about the actual buildings I would need for Stalingrad plus all the reading material I would need

May 2012

Started painting my World War II German infantry and armour.

1st Panzer Battalion

Armoured Panzer Grenadier Battalion

Motorised Panzer Grenadier Battalion

Panzer-Artillerie-Regiment 116

Heeres-Flak-Artillerie-Abteilung 288

May 2012
This is the very first Timecasts building I have purchased also got this from triples and I am extremely pleased with how this building looks.

21/RU1 Traditional Wooden Church 1812
May 2012

I painted the first of my Fieldworks buildings which I got from triples.

K19 G.U.M. (Department Store) picture 1

February 2012 

I entered Pendraken Painting Competition 2012 with their PS35 ACW buildings which had painted earlier in the year.

PS22 Machine gun bunker, type 1,  PS23 Machine gun bunker, type 2, PS24 PAK 40 covered bunker

2012

I started on my JR Miniatures buildings sold by Magister Militum.

1766 Russian Cabin, 1767 Russian Cabin Timber, 1768 Russian Cabin 2 Story

2012

I started painting all of the Pendraken buildings I had.

PS1 Ruined house

PS2 Damaged house

PS3 Derelict house, type 1

PS4 Derelict house, type 2

PS22 Machine gun bunker, type 1,  PS23 Machine gun bunker, type 2, PS24 PAK 40 covered bunker

PS39 WWII Russian thatched hut, rendered walls

PS40 WWII Russian thatched barn, wooden walls

PS42 WWII Russian wooded village hall

Vapnartak, York, Wargames Show 2023

York wargames show is an annual pilgrimage for us from the Grimsby Wargames Society its the first show of the year so it kinda gets the warg...