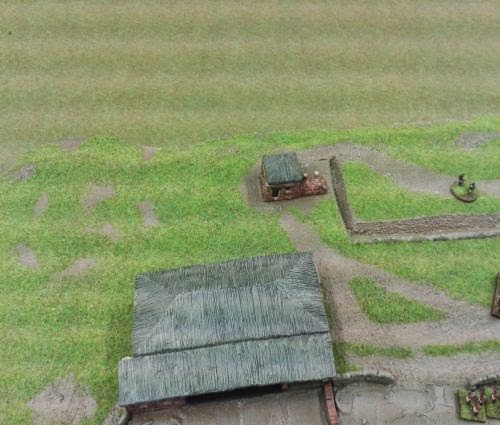
I needed to make a base for my Rorke's Drift buildings from Old Glory, however my better half came to the rescue and offered to build it for me. As she had done such a good job on the Zulu Kraals and Villages who was I to say no.
Rorke's Drift
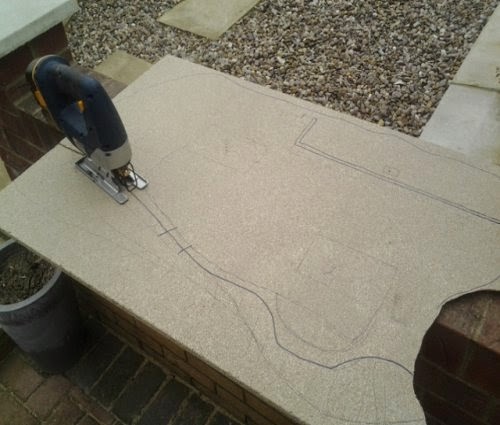
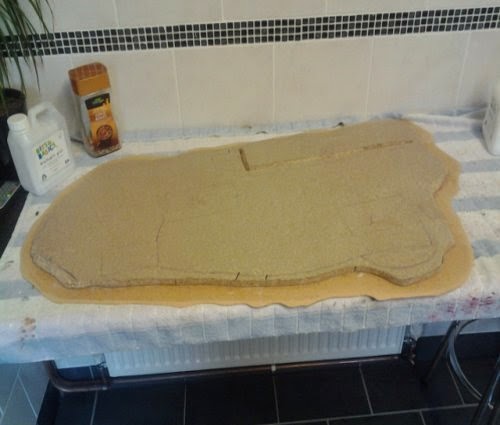
1. The first step was to mark out some MDF to the desired shape, which was half an inch thick.
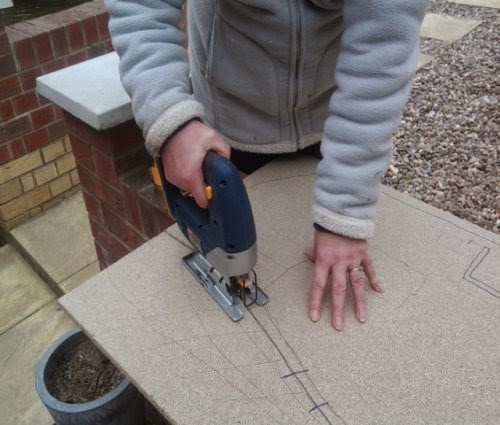
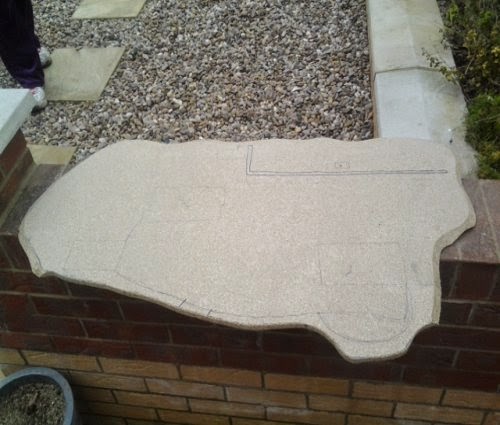
2. After Sara had done all the marking out she got my jigsaw and cut out the desired shape.
3. The next stage was without doubt the hardest as it involved rasping the edge of the MDF and hardboard however it greatly improved the look.
4. The next stage was to place a larger piece of hardboard underneath the cutout MDF and mark it slightly larger than the MDF.
5. The next stage was very easy it was just a matter of cutting the hardboard with the jigsaw and then gluing the hardboard to the MDF she did this by using a PVA glue, and putting a large weight on it overnight.
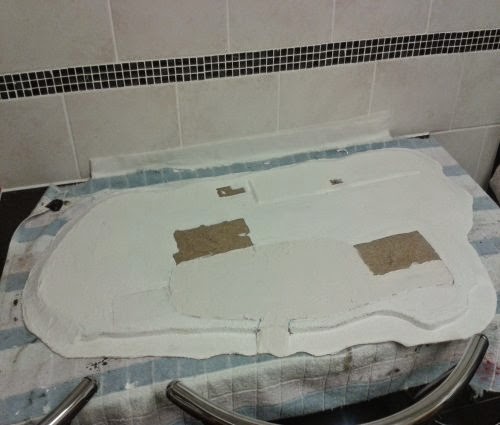
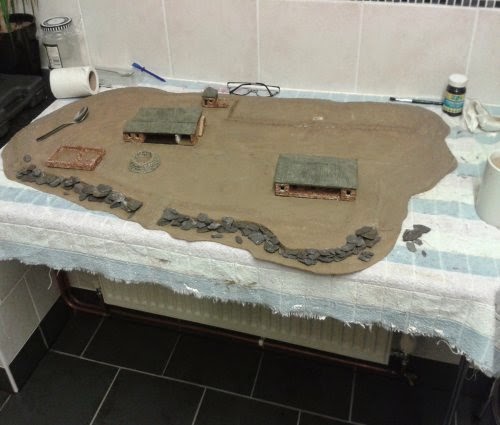
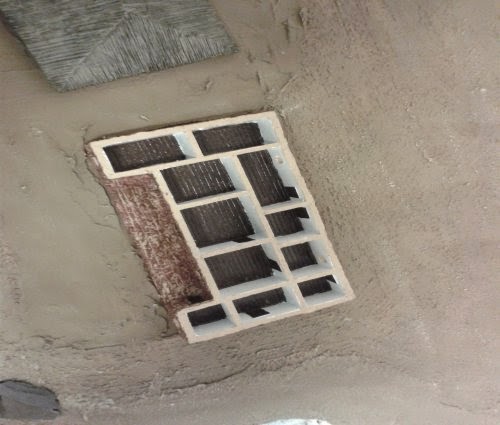
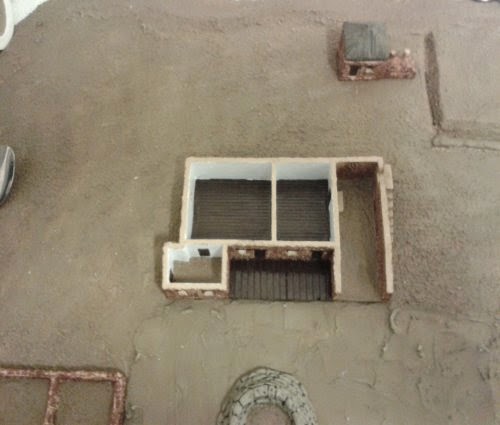
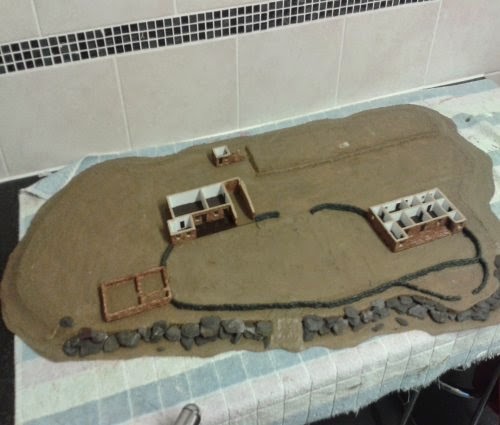
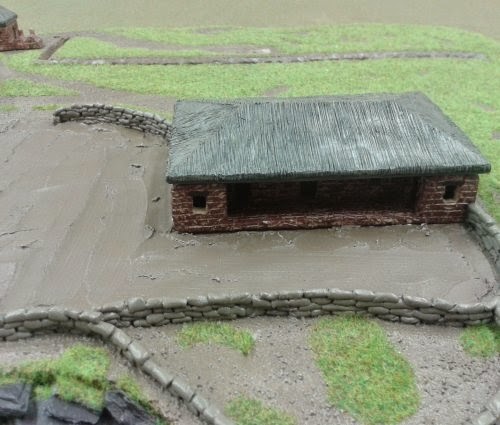
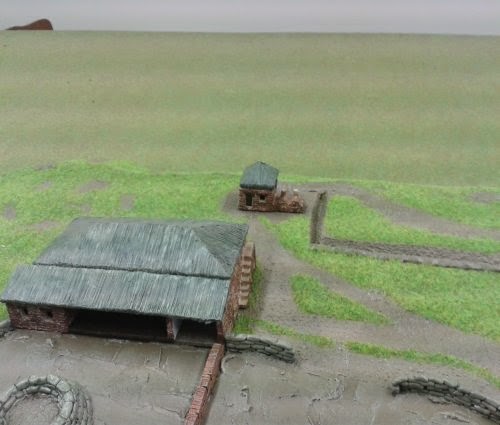
6. The next stage was to place the Rorke's Drift buildings e.g. the Hospital, Store, Cook House, Stone Kraal and Redoubt which are made by Old Glory in the appropriate places and mark them out along with the barricades.
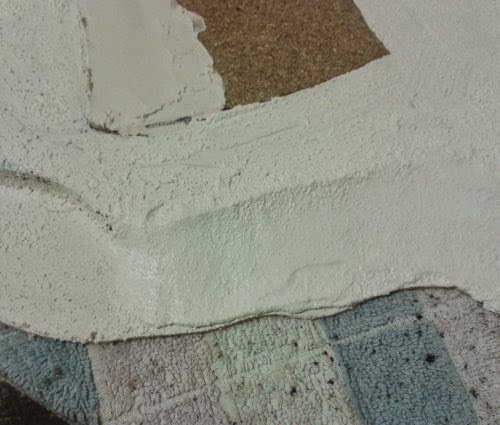
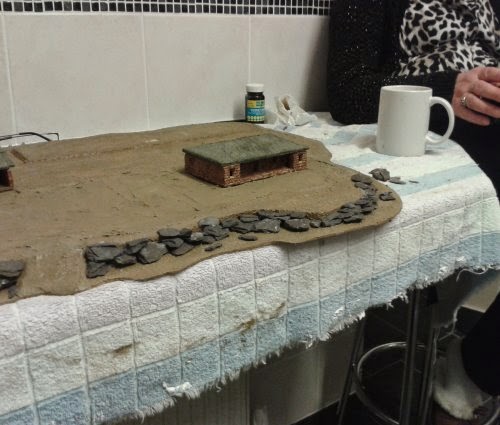
7. The next step is to apply Polycell Multi Purpose Polyfilla to the inside of the barricades which I feel better simulates trampled mud. And for the rest I used Polycell Textured Ceilings, Course Effect.
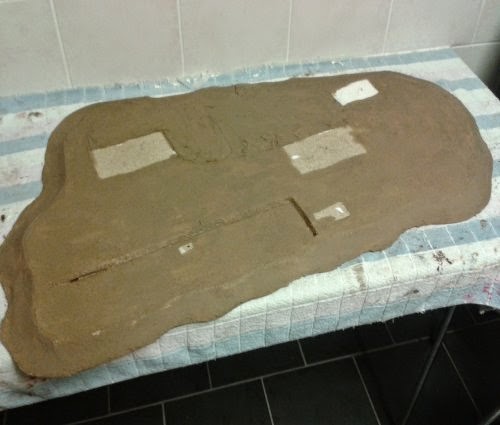
8. The next step is to paint with Vallejo 921 English Uniform and then dry brush with Vallejo 918 Ivory.
9. The next stage is to glue on all of the Rorke's Drift buildings and the slate chippings using a glue gun.
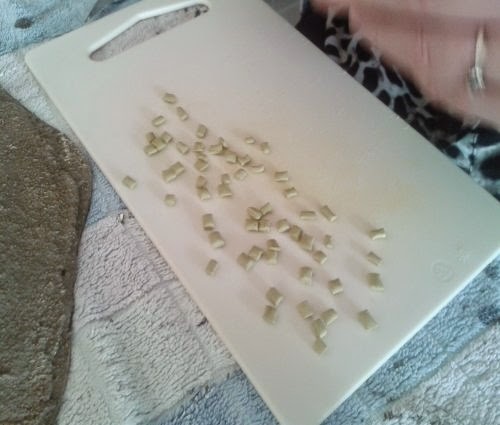
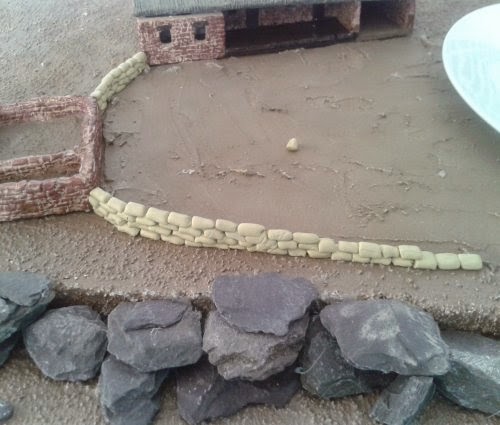
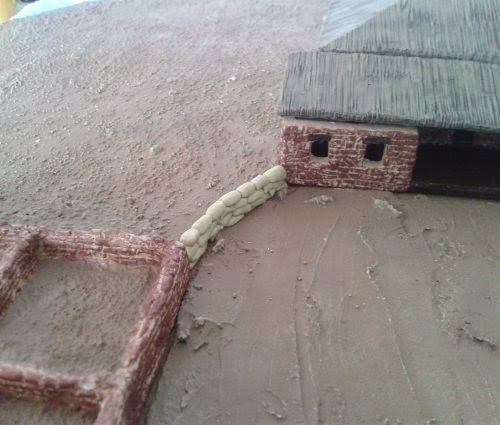
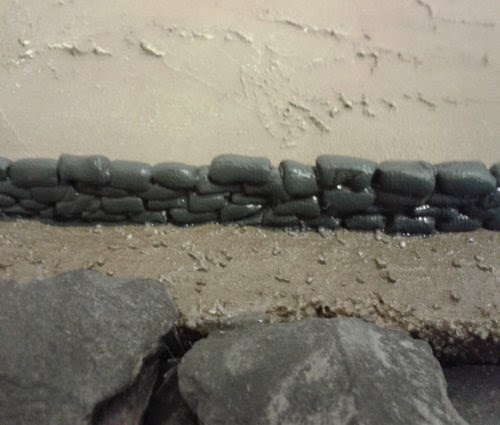
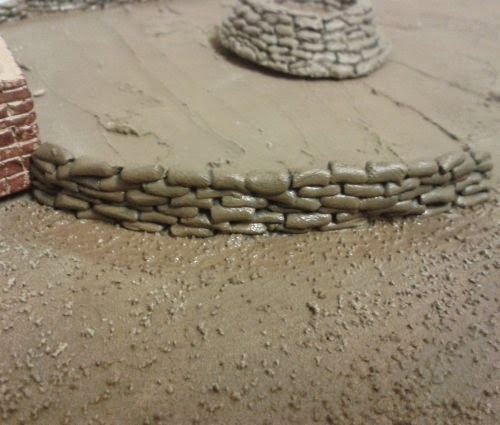
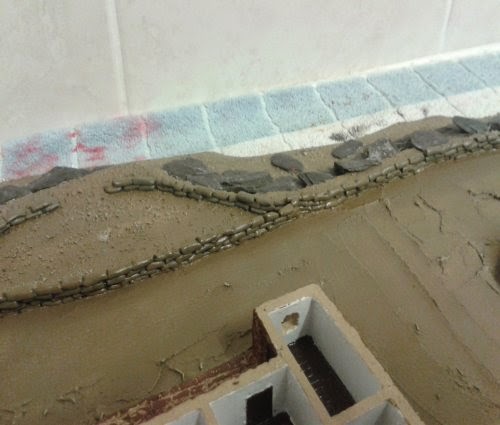
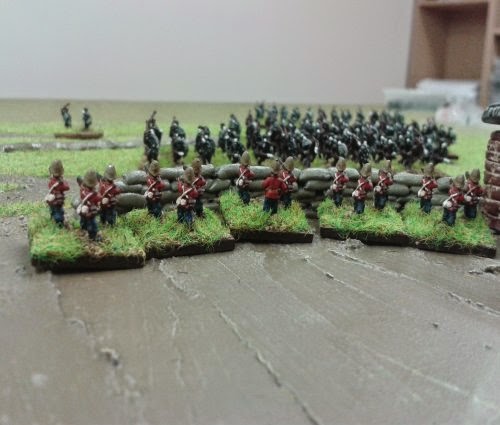
10. The next stage is to make the Mealie bags for the barricades i did this using Milliput and the biscuit box barricades were made from Pendraken ammunition boxes.
11. The next stage is to under coated with Vallejo 995 German Grey.
Then dry brushed with Vallejo 821 German Cam. Beige WWII. And finally Sara carefully varnished everything with Ronseal Diamond Hard Varnish, Matt clear.
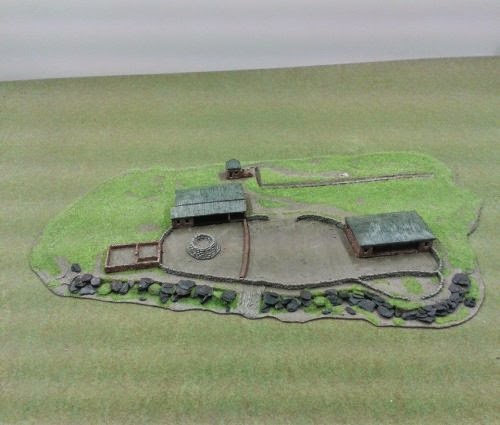
12. The Last stage is to add Noch Summer Meadow Grass.
Tools
Pencil
Tape measure
Jigsaw
Rasp
Screwdriver
Paintbrushes
Glue Gun
Materials
MDF
Hardboard
Polycell Filler
Polycell Textured Ceilings, Course Effect
Ronseal Diamond Hard Varnish, Matt clear
Noch Summer Meadow Grass
PVA
Milliput
Slate Chippings
Vallejo Colours
Vallejo 921 English Uniform
Vallejo 918 Ivory













No comments:
Post a Comment