
Making Diorama Bases is an easy guide to follow. 1. When making diorama bases I genuinely cut the bases into irregular shapes as I find that it looks far better once on the wargaming table.
2. I normally use hardboard from my local DIY store however you could use plywood or MDF plastic card, foam board or anything at hand.
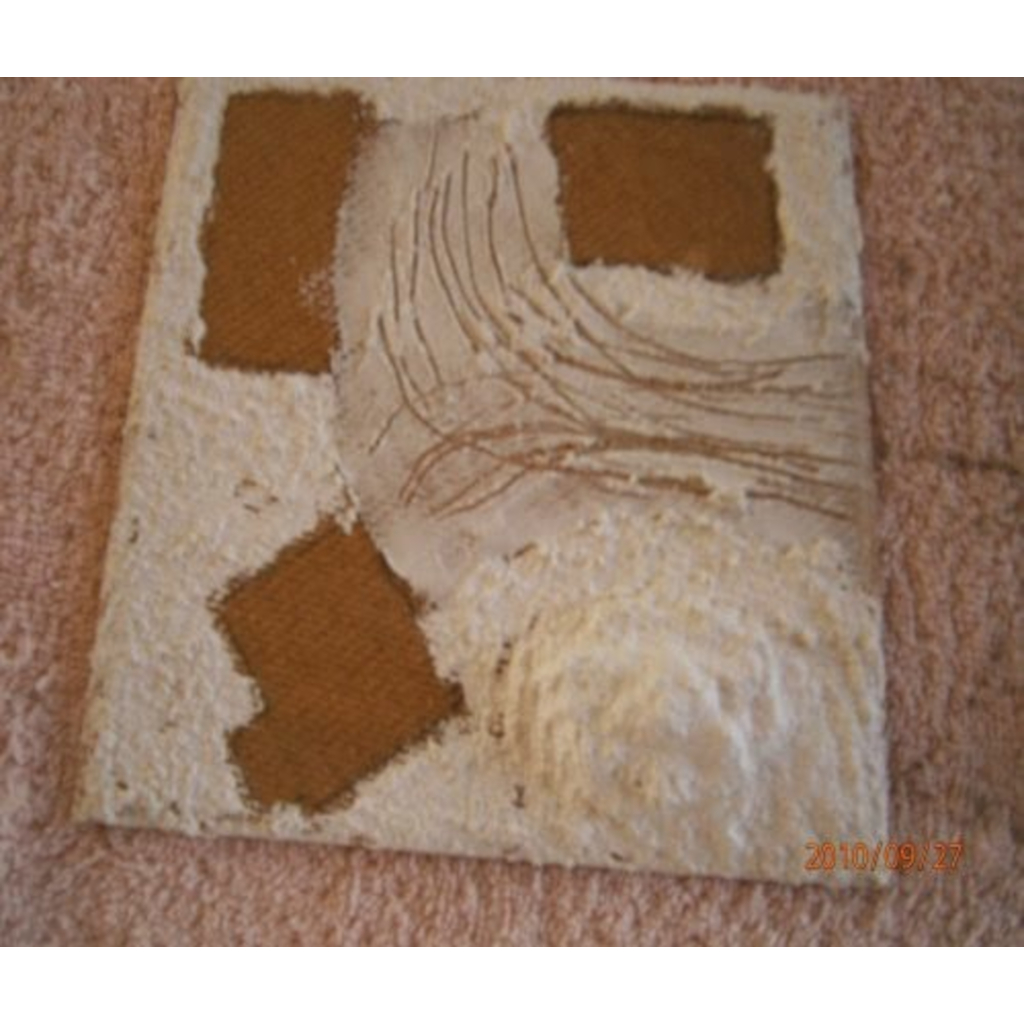
3. Once you’ve cut your bases to the desired size and shape, it’s ready for the next stage if you’re going to place several houses then I would suggest you mark where you intend placing the houses and any roads you wish to incorporate into the diorama.
4. The next step is to paint the base with Polycell Textured Ceilings, Course Effect but obviously missing the marked out spaces for the houses and roads, once this is dried you can then use Polycell Multi Purpose Polyfilla to make the roads as the Polyfilla is drying I tend to scratch marks into the road surface to make it look like it’s been travelled on.


5. The next step is to paint your diorama you of course can use any colours you wish but I use Humbrol No. 110 Natural Wood as the base colour and then dry brush with Humbrol No. 103 Cream once this stage is completed I normally glue the houses on with a Two part Epoxy resin.


6. The next step is to varnish your diorama I use Ronseal Diamond Hard Varnish, matt clear once this is dry you can then add any trees to the diorama that you wish, and I always finish off by using Noch Summer Meadow Grass.
Tools
- Pencil
- Tape measure
- Wood saw
- Rasp
- Glue gun
- Cutters
- Drill
- Paintbrushes
Materials
- Hardboard
- Polycell Textured Ceilings Course Effect
- Polycell Multi Purpose Polyfilla
- Ronseal Diamond Hard Varnish, matt clear
- Noch Summer Meadow Grass
- PVA
Humbrol Colours
- Humbrol No. 110 Natural Wood
- Humbrol No. 103 Cream
Sources
Other blog categories that may be of interest. 10mm ACW Project, 10mm AWI Project, 10mm AZW Project, 10mm CGW Project, 10mm FIW Project, 10mm Sci-Fi Projects, Aliens, Dropzone Commander, Terra Nova, 10mm WWI Project, 10mm WWII Project, 10mm Zombie Project, Battle Reports & Scenarios, Making Scenery & Terrain, Painting Guides, Shows & Events, Solo Wargaming, Wargaming Projects, Wargaming Rules.
Leave a Reply