
This tutorial will walk you through the process of making hedges for your 10mm wargaming table out of common scouring pads which can be bought from your local supermarket.
Making Hedges
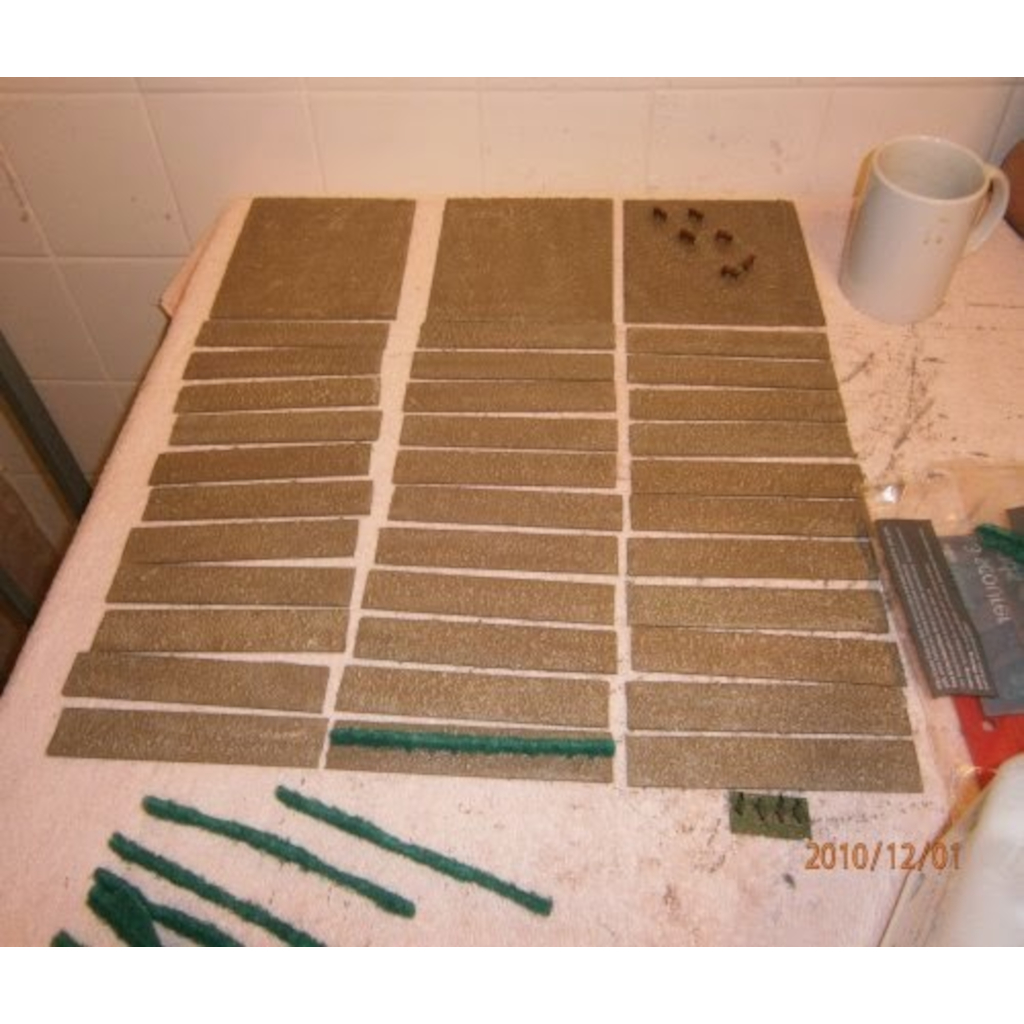
- The first step is to cut your bases to the desired size either using MDF or hardboard in my case I used hardboard and cut it to 1 inch wide by 6 inch long once you have cut your bases to the desired size you then want to proceed to rasp the edges to give it a smoother appearance.

2. Cut the scouring pads to the desired height and length.

3. The next step is to texture your base. I have done tutorial on Making Diorama Bases.
4. The next step is to immerse the cut scouring pads into a tub of PVA and then immerse the saturated scouring pads into a tub of mixed Javis Countryside Scenic Products Scatter No 21 pasture green and Javis Countryside Scenic Products Scatter No 15 mid green allowed to dry.


5. You can miss the above stage if you prefer to paint instead use a dark green followed by lighter shades of green and highlight with yellow.
6. The next and final stage is the glue the scouring pads on to your pre-cut and textured bases using a glue gun.


Tools
- Pencil
- Tape measure
- Wood saw
- Rasp
- Paintbrushes
- Craft knife
- Scissors
- Ruler
- Glue gun
Materials
- Hardboard
- Polycell Textured Ceilings Course Effect
- Ronseal Diamond Hard Varnish, matt clear
- Noch Summer Meadow Grass
- Scouring pads
- PVA
- Javis Countryside Scenic Products Scatter No 21 pasture green
- Javis Countryside Scenic Products Scatter No 15 mid green
Humbrol Colours
- Humbrol No. 110 Natural Wood
- Humbrol No. 103 Cream
Sources
Other blog categories that may be of interest. 10mm ACW Project, 10mm AWI Project, 10mm AZW Project, 10mm CGW Project, 10mm FIW Project, 10mm Sci-Fi Projects, Aliens, Dropzone Commander, Terra Nova, 10mm WWI Project, 10mm WWII Project, 10mm Zombie Project, Battle Reports & Scenarios, Making Scenery & Terrain, Painting Guides, Shows & Events, Solo Wargaming, Wargaming Projects, Wargaming Rules.
Leave a Reply