
Making Moulds with latex is an easy guide to follow. Using latex to make a mould preparation of the model Degrease the model by washing in warm soapy water and I dry thoroughly. Place (and fix if necessary) the model centrally on a saucer. The latex gently adheres to the surface of the porcelain and prevents the rubber from pulling away from the base of the model.
Painting Latex
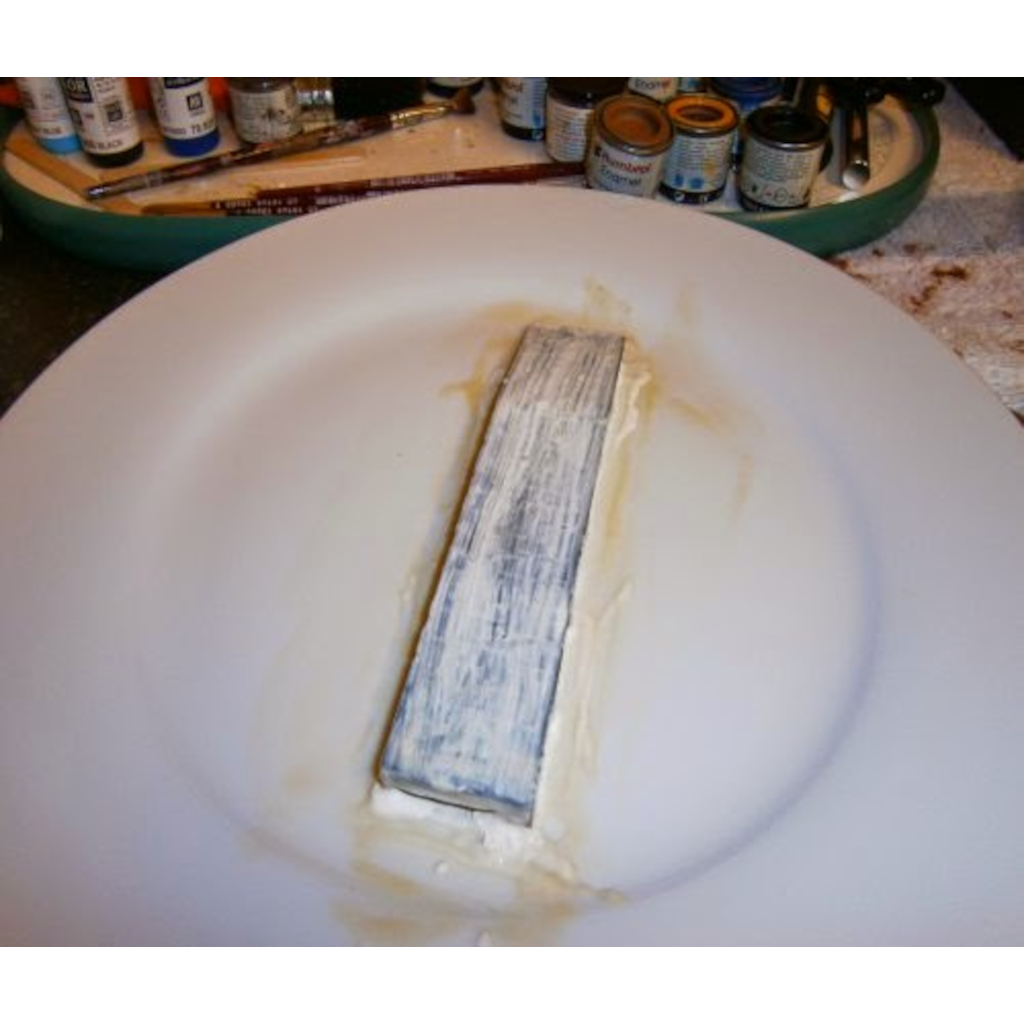
The procedure for painting of latex wash a paint brush quarter of an inch to one inch depending on the size of the model in warm soapy water and squeeze out any excess liquid. The purpose of this is to make the brush easier to clean after use. Dip the brush into the latex without thickener added and apply small downward strokes starting at the top of the model, working down in a spiral motion refilling the brush for every stroke. Ignore any runs as these will be absorbed when you reach this part of the model. If excess latex builds up in the well around the base this should be removed with the brush and reapplied whilst still wet. The model and the base should be covered to the same thickness.


Air Bubbles
It is important not to have any air bubbles in your first two or three coats. So if they appear break by gently blowing. After each coat of latex rinse the brush under the cold tap to clean it. And stop it from blocking up as the latex dries. Each layer of latex will self cure but you can speed up the process by placing the saucer next to a radiator. Alternatively you can use a hairdryer when the models dry the latex will have changed from a milky white appearance and become more transparent. Repeat the painting process.
Repainting Begins
If repainting begins be for the previous coat is dry and cool the next coal will coagulate. When the second coat is dry and cool add thickener to the latex for remaining coats. We recommend one jar of thickener to 1 litre of latex. You can use up to a maximum of 2 jars per litre. Or example if you want to make a large mould which needs to be quite thick to avoid distortion when casting. Repeat the painting process until the required depth has built up. The finished mould should be thoroughly dry and semitransparent before any attempt is made to remove from your model.


Removal of Mould
Removal of mould. Coat the mould with diluted washing-up liquid (undiluted in the case of deep undercuts). Peel the mould from the base of the model. Take a firm grip of the base, and peel the mould back on itself. Return mould to correct side, wash in warm soapy water and dry. Making Moulds
Tools
- Saucer
- Paintbrush
Materials
- Latex
Humbrol Colours
Sources
Other blog categories that may be of interest. 10mm ACW Project, 10mm AWI Project, 10mm AZW Project, 10mm CGW Project, 10mm FIW Project, 10mm Sci-Fi Projects, Aliens, Dropzone Commander, Terra Nova, 10mm WWI Project, 10mm WWII Project, 10mm Zombie Project, Battle Reports & Scenarios, Making Scenery & Terrain, Painting Guides, Shows & Events, Solo Wargaming, Wargaming Projects, Wargaming Rules.
Leave a Reply