Welcome to my world of 10mm Wargaming I am intending to use these pages to document my ongoing wargaming projects, and the various rules i use. I hope, you may find them interesting. And even possibly learn something from them, even if its only, how not to do things
3 Dec 2010
Making Buildings
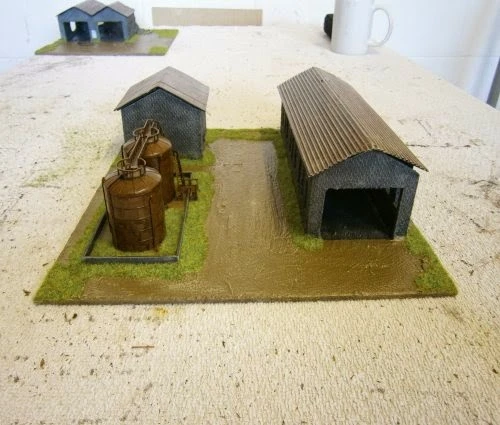
Making buildings is an easy guide to follow. In this section of the site you will find all the buildings I have scratch built. The first building I constructed was the American Civil War (ACW) blockhouse which was because of my very good friend Malcolm who is also a member of the Grimsby Wargames Society, had made one for his 15mm ACW and looked so good I thought I would attempt to do my own for my 10mm ACW.
Incidentally Malcolm and Andy make all of the scenery for the Grimsby Wargames Society I can only say I wish I had half their skills anyway don't take my word for it check out the website galleries and you'll see for yourself the outstanding work they managed to achieve.
The next buildings I constructed were the Stalingrad factory ruins which I needed for my World War II (WWII) project Russian front on the whole I am rather pleased with how they turned out I should imagine overtime my scratch building skills will improve anyway hope you enjoy and please leave comments.
Labels:
z
1 Dec 2010
Making Hedges
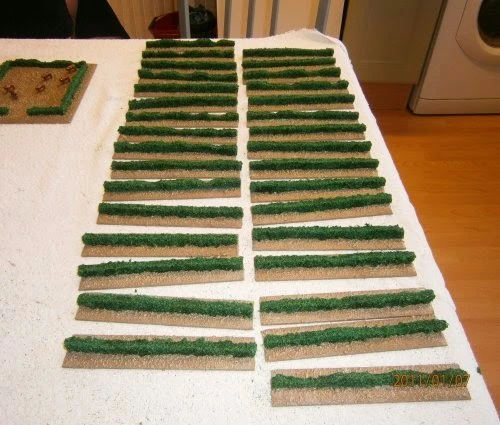
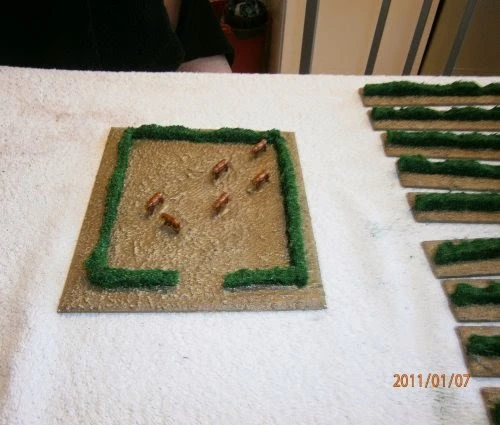
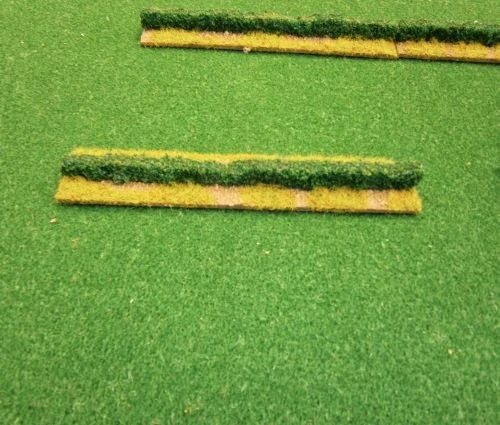
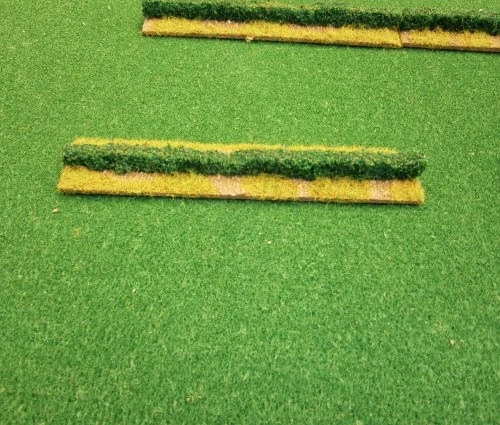
This tutorial will walk you through the process of making hedges for your 10mm wargaming table out of common scouring pads which can be bought from your local supermarket.
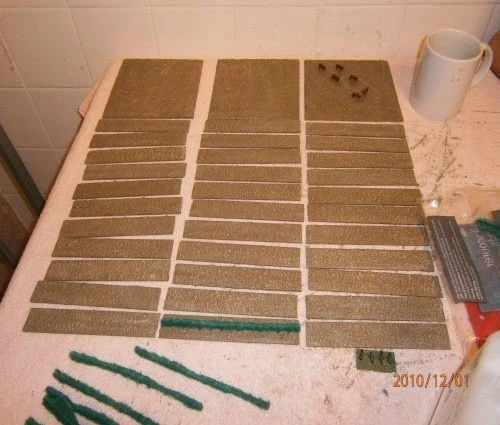
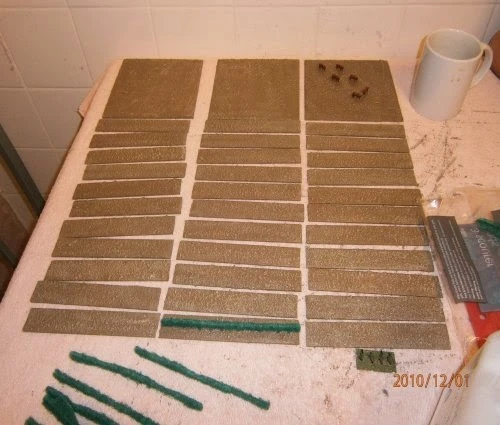
1. The first step is to cut your bases to the desired size either using MDF or hardboard in my case I used hardboard and cut it to 1 inch wide by 6 inch long once you have cut your bases to the desired size you then want to proceed to rasp the edges to give it a smoother appearance.
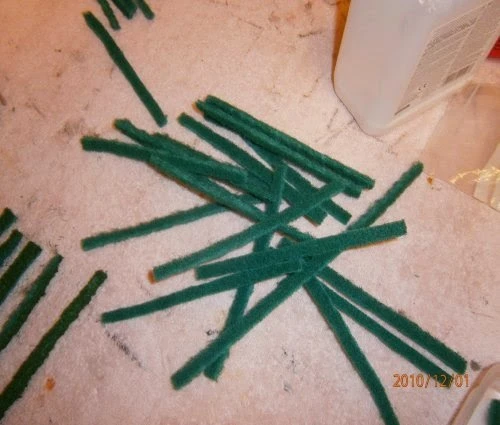
2. Cut the scouring pads to the desired height and length.
3. The next step is to texture your base. I have done tutorial on basing.
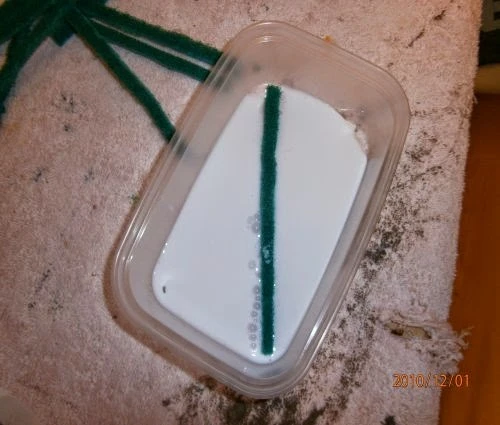
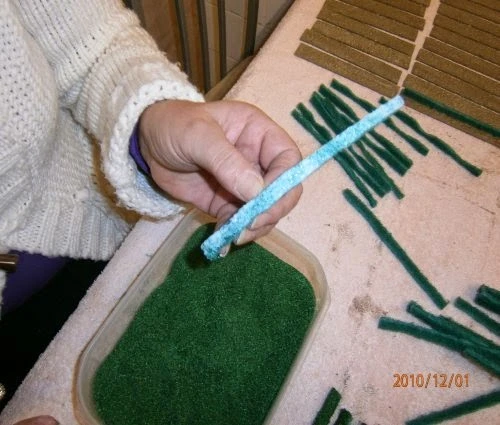
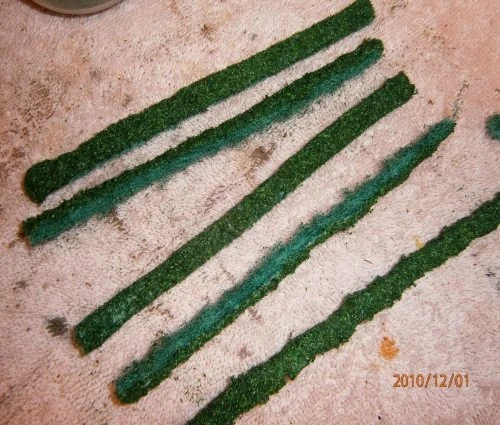
4. The next step is to immerse the cut scouring pads into a tub of PVA and then immerse the saturated scouring pads into a tub of mixed Javis Countryside Scenic Products Scatter No 21 pasture green and Javis Countryside Scenic Products Scatter No 15 mid green allowed to dry.
5. You can miss the above stage if you prefer to paint instead use a dark green followed by lighter shades of green and highlight with yellow.
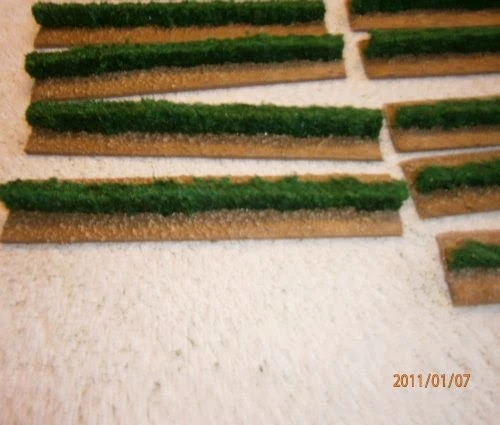
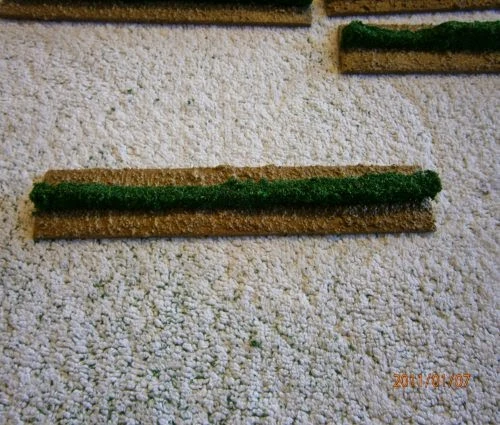
6. The next and final stage is the glue the scouring pads on to your pre-cut and textured bases using a glue gun.
Tools
Pencil
Tape measure
Wood saw
Rasp
Paintbrushes
Craft knife
Scissors
Ruler
Glue gun
Materials
Hardboard
Polycell Textured Ceilings Course Effect
Ronseal Diamond Hard Varnish, matt clear
Noch Summer Meadow Grass
Scouring pads
PVA
Javis Countryside Scenic Products Scatter No 21 pasture green
Javis Countryside Scenic Products Scatter No 15 mid green
Humbrol Colours
Humbrol No. 110 Natural Wood
Humbrol No. 103 Cream
Labels:
Making Scenery & Terrain
Subscribe to:
Posts (Atom)